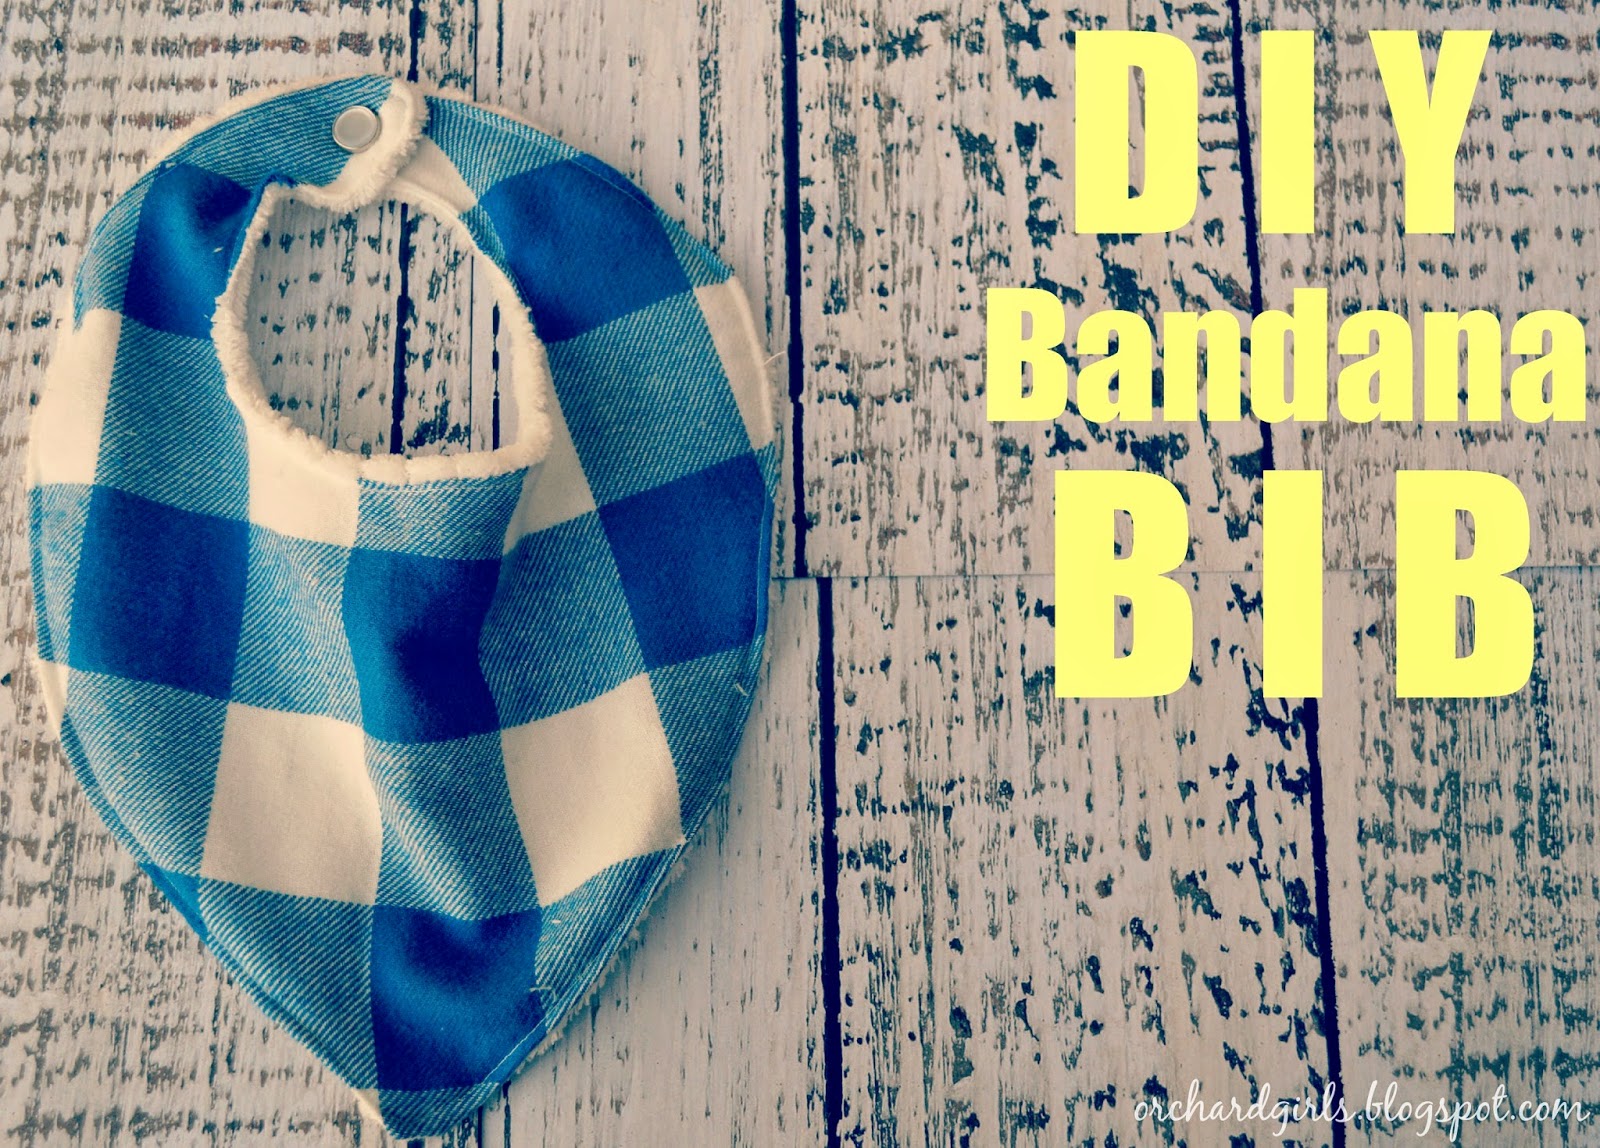
Here are the two different styles that I ended up with - I think I prefer the second style best. It was easier to make and I like the look better, too. Below you will find a tutorial for each style, and pictures of how they look on.
STYLE #1
**This style looks more like the original bib shape
1. Pick your fabric (two pieces) I used the cuddle flannel fabric and a super soft ribbed fabric (not up to date on my fabric terms :) haha) But really anything will work.
2. One piece at a time fold your fabric and use THIS pattern to cut the basic shape out and repeat on your second piece of fabric, making sure they both match up.
3.Once you cut our your shape, put the fabrics "good" sides together and sew around the entire shape leaving a 2 inch hole, to pull your fabric through.
4. Pull your fabric through and sew straight stitch around the entire shape closing the opening as well.
5. Add your snaps - I used Pearl Snap Fasteners (dritz brand) These seriously, couldn't have been any easier and they work great! Follow instruction and attach to your bib. You might want to test it out on your baby first to make sure you place them in the best spot. Here is what it looks like...
and on...
STYLE #2
**This style is more of the modern "bandana" style
1. Pick your fabric (two pieces)
2. Make a fold in your fabric and cut an isosceles triangle. with the long side being 16 inches total and the other two sides 12 inches each. With your fabric folded though you will make a 12" cut and 8" cut.
3. Follow steps #3-5 above!
That's it! Here is how it looks completed...
and a few while on...
Addie and Simon hanging out it Simon's crib, nothing like a little brother sister bonding!
Thanks for stopping by! Are you going to try and make one of these DIY bandana bibs? We'd love to hear about how it goes. Let us know what you think, by commenting down below. Have a wonderful evening!
Visit our LINK PARTY DIRECTORY to see where we party!
If you'd like to follow along with us, check us out on FACEBOOK and "like" our page. We appreciate all your support :)


No comments:
Post a Comment